Your first quad bike ride: what a useful introduction looks like
From the practice area to the decision to continue: a practical guide for complete beginners.
Read the guide ↗Protective kit, personal clothing and useful luggage, without turning the ride into a shopping list.
Editorial desk · Updated · 3 min read
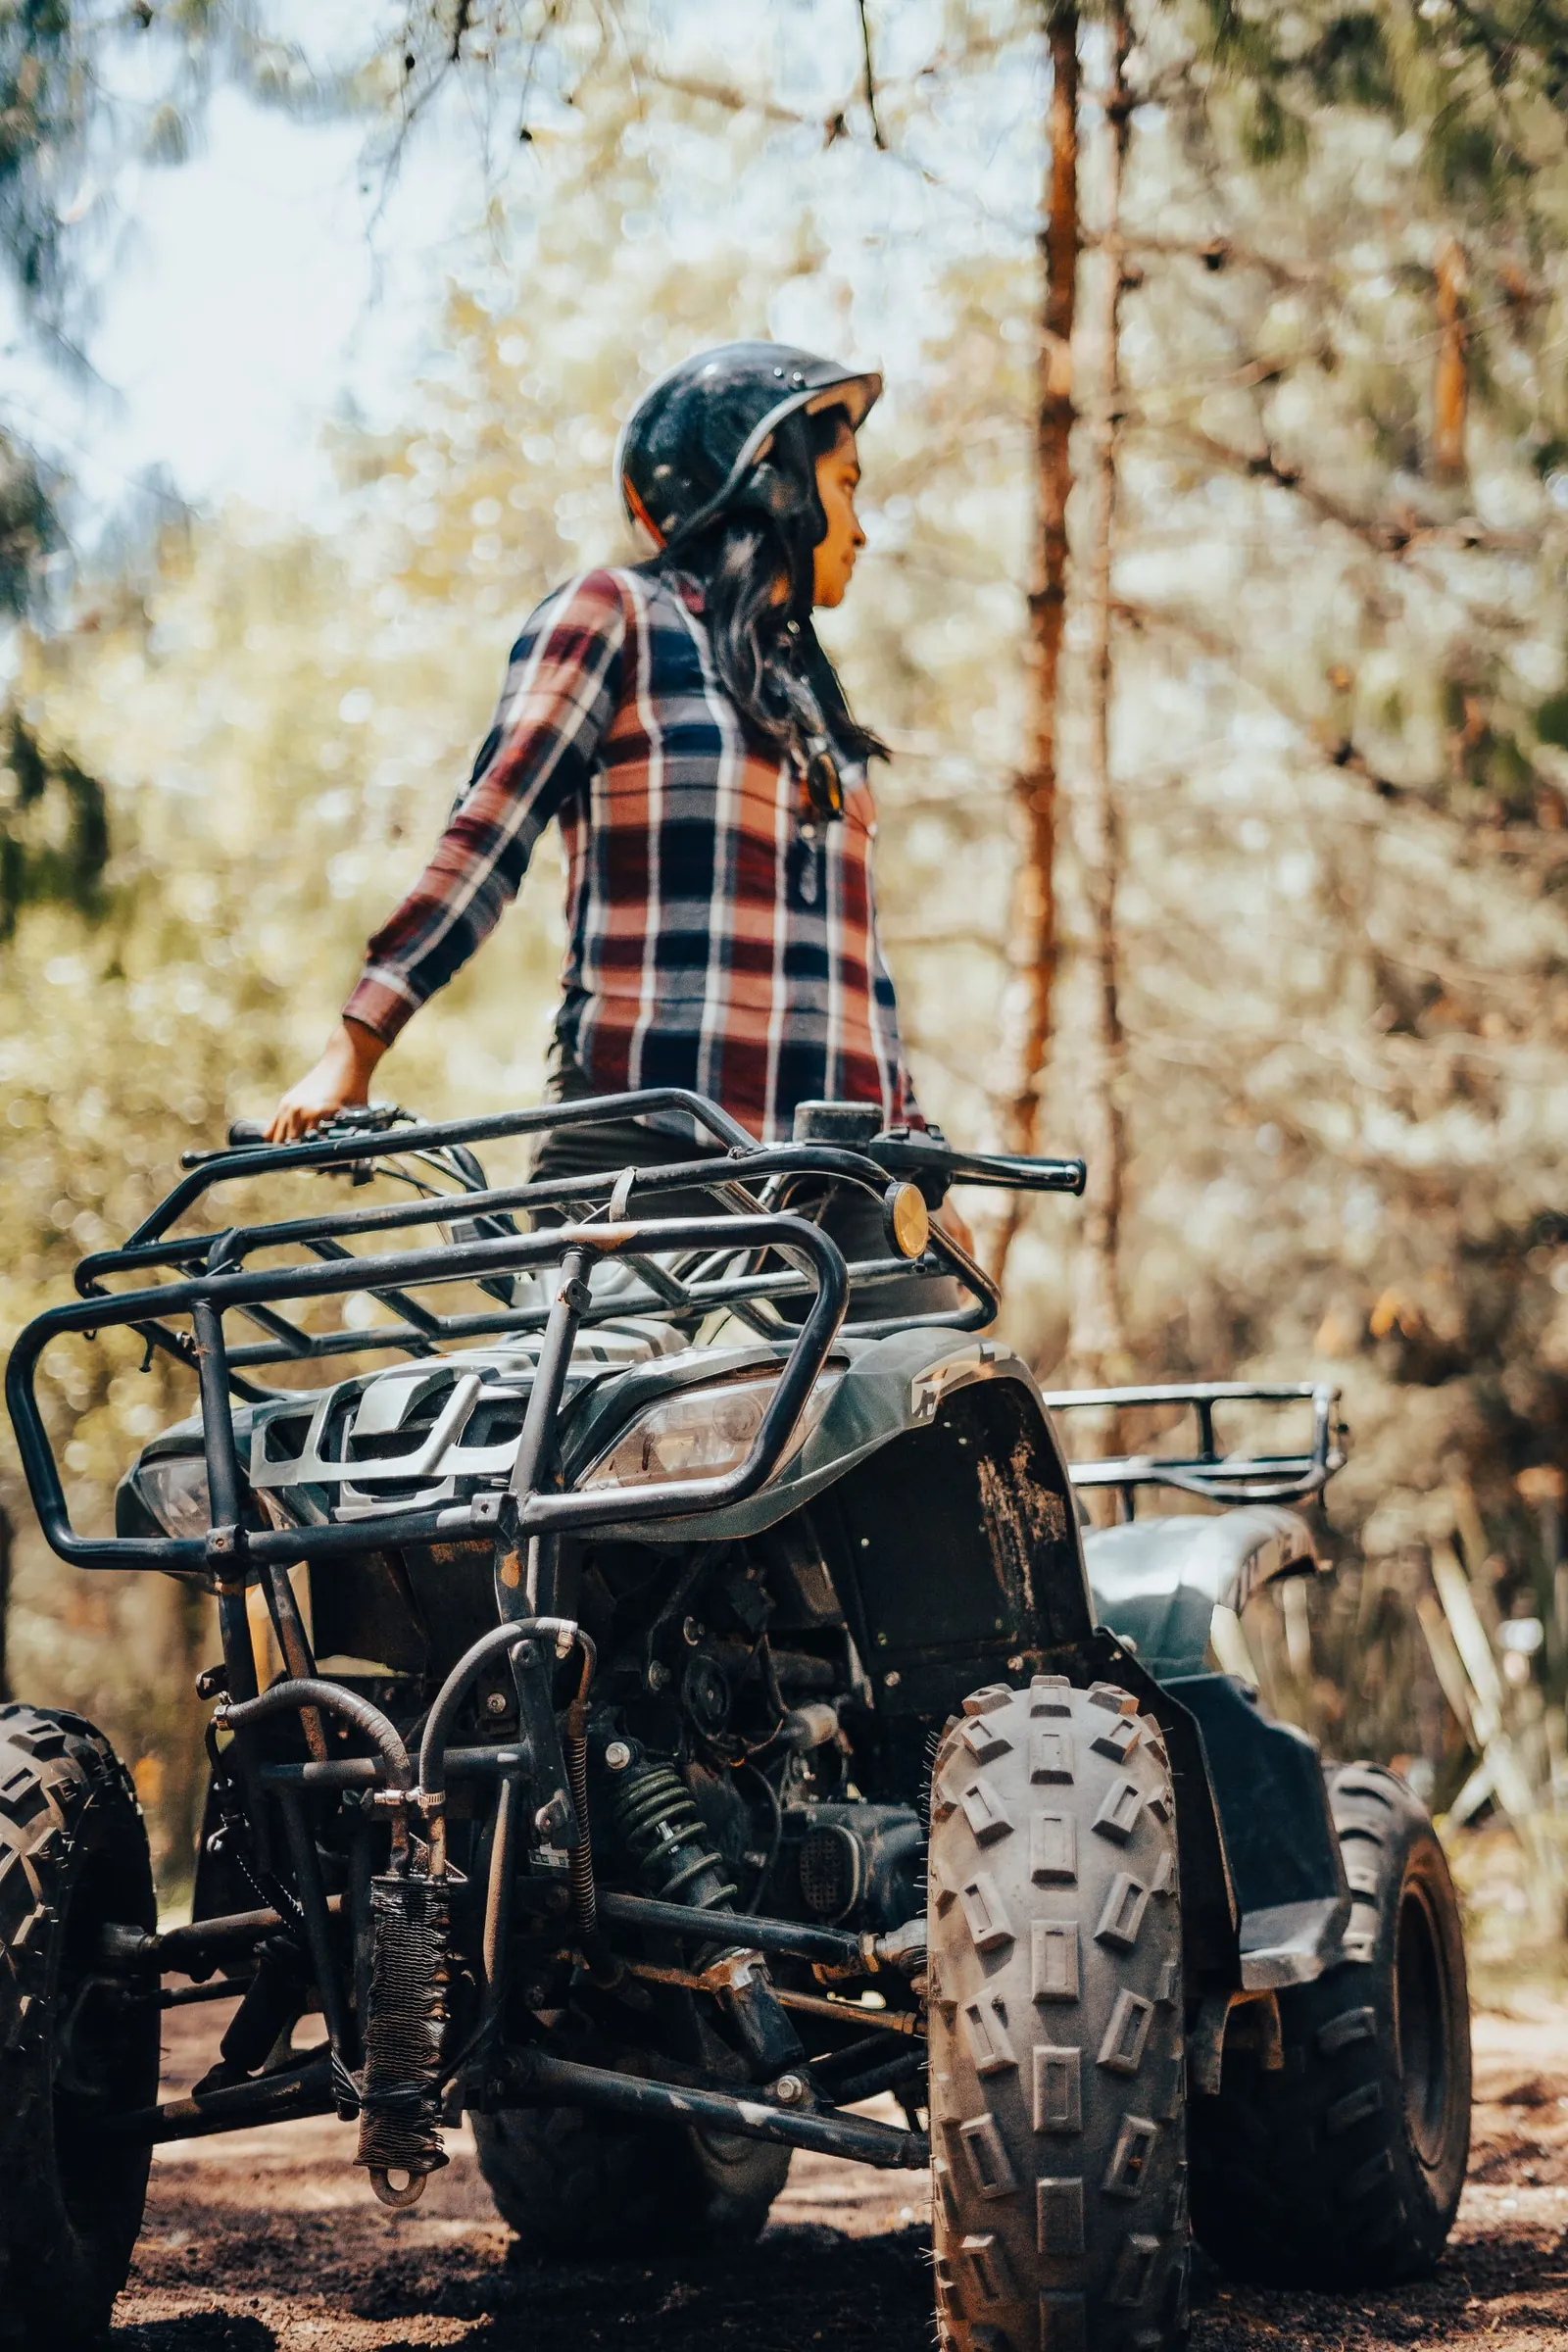
The simplest packing plan has three parts: protective equipment, personal clothing and a small set of belongings. Decide which items the organiser supplies before putting them in your bag. “Equipment included” is useful only when you know the items and available fit.
The ATV Safety Institute recommends a properly fitted helmet, eye protection, gloves, long sleeves, long trousers and boots covering the ankles. This is safety guidance; the organiser and the actual vehicle's requirements must also be followed. A seaside departure does not turn beachwear into riding equipment.
Arrive with enough time to try the supplied kit. A helmet that moves excessively, eyewear that limits the view or gloves that interfere with using a control needs attention before practice. The practical outcome is a suitable fit, rather than merely being handed the item named in a booking.
Bring these points to staff while they can still arrange alternatives. Avoid changing protective equipment or adding a camera mount without following the equipment and provider's requirements.
On a small screen, scroll the table sideways to read every column.
| Packing decision | Warm, dry forecast | Cool or changeable forecast |
|---|---|---|
| Protective kit | Keep the required riding protection; heat does not replace it | Keep the same protective requirements and resolve fit with any additional layer |
| Personal layer | Choose a manageable layer for the planned stops | Bring the weather layer agreed for the programme |
| Belongings | Secure water, documents and phone as instructed | Protect the same belongings from rain as well as dust |
| After the outing | Allow for clothing that has been outdoors | Include a suitable change if the actual programme calls for it |
Organise required identification and booking details for check-in. For the outing itself, keep water, the agreed layer and essential personal supplies in storage secured as instructed. A bag is useful when its contents are relevant and its straps are contained.
Keep the things you will need after the ride separate where possible: a change of clothing, anything needed for the onward visit and the documents that do not belong loose on a vehicle. This makes the handover easier and reduces rummaging at the start.
A large camera bag for an introductory ride. The participant spends the briefing finding somewhere to put it. A smaller arrangement, or a camera left for agreed stops, better serves the same aim.
Extra clothing with no storage plan. A useful layer becomes an awkward bundle. Agree where it can be carried before assuming that every vehicle has suitable spare space.
Packing from a seasonal photograph. The actual forecast and programme deserve the final say. Use the weather and fire resources for the date, including the relevant local directions.
An organised introductory outing and a longer independent rental can need different preparation. Match the list to what you have actually booked, without treating more equipment as proof of readiness.
The outing planner turns the chosen format, area and seating plan into a concise checklist. For camera choices and stops, use the photography guide.
Checked in October 2026. Read live information for your date and the exact vehicle or place.